3 Scanning a paper map
3.1 Scanning
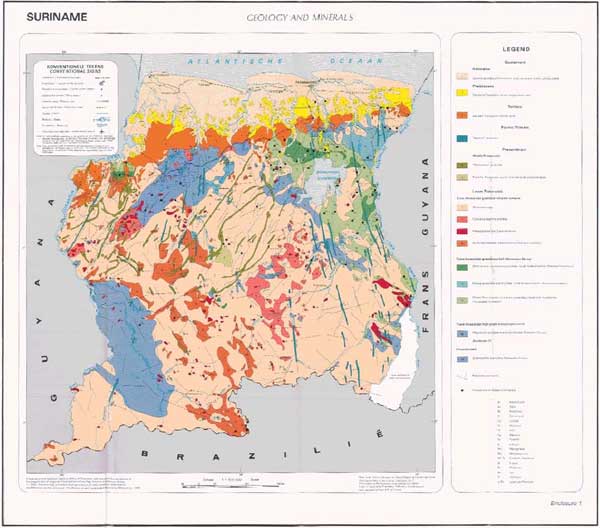
Your chosen paper map may look something like this one from the Dutch Geological Survey of Dutch Guyana or Suriname:
Step 1
It is important to find a large scanner in your city, which could cover a whole paper map. If this scanner is not available at your survey, you may try the Topographical Survey or a large bookshop or book printer.
Step 2A
If you could use a large scanner, you can scan the whole map at one time. But remember to scan the geological map portion into a separate file from that for the legend i.e. you will have two files one for the map and one for the legend. Alternatively, make a copy of an original digital image of the whole map face and cut out the map from the legend. Good software to do this is IrfanView (http://www.irfanview.com/) or Adobe Photoshop (http://www.adobe.com/uk/products/photoshopfamily.html). Tip: This cropped map is now ready for geo-referencing. If you have a slow Personal Computer, you could temporarily work with a JPEG copy. The file size is than much smaller and it can be accessed and geo-referenced faster.
The preferable output format should be .TIF as this format keeps most information.
Step 2B
For larger maps, or if you have only a small scanner, the map should be scanned in parts and later stitched together.
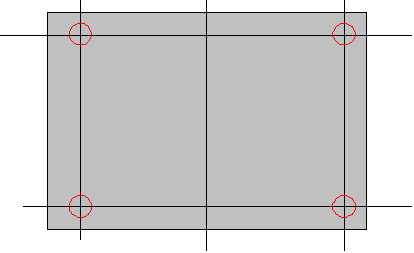
If you scan in parts always try to keep the crossings of the horizontal and vertical black lines in each of the four corners. The straight horizontal and vertical black lines on the map are the altitude and longitude. Then the stitching and geo-referencing will be much easier.
The output format should be .TIF as this format keeps most pixel information available.
Step 2C
If scanners are not available, you could use a good digital camera. Unfold the map on a well lit place without glare or light reflections. Sometimes white sheets on the side will diffuse the light and prevent ugly reflections from the sun or from the light-bulb. Take a picture right above the centre of the map.
Make several pictures with different lighting and shutter speed. Choose the best colourful result. Usually the export format is .JPG.
Step 3 ~ Stitching
For the stitching of map parts many applications or free software are available, such as such as GNU Image Manipulation Program (GIMP) (http://www.gimp.org/), or OSSIM ImageLinker (http://www.ossim.org/)
Section last modified: 12 June 2013