6.5.3 Creating group layers
In some situations it is desireable to create a group layer, for example you may want to do this to comply with INSPIRE layer naming regulations to create a layer called GE.GeologicUnit to group all of your layers that are spatial objects of type GeologicUnit.
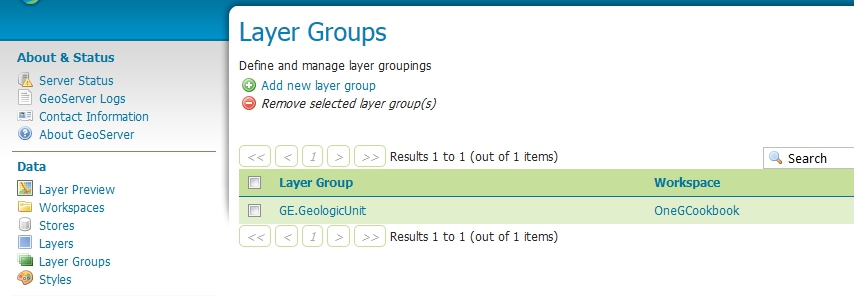
On the left side of the GeoServer Web Administration Interface, under Data, click Layer Groups. This will bring up the Layer Groups page. Click the add new layer group link to add a new group layer; this opens a New Layer Group page.

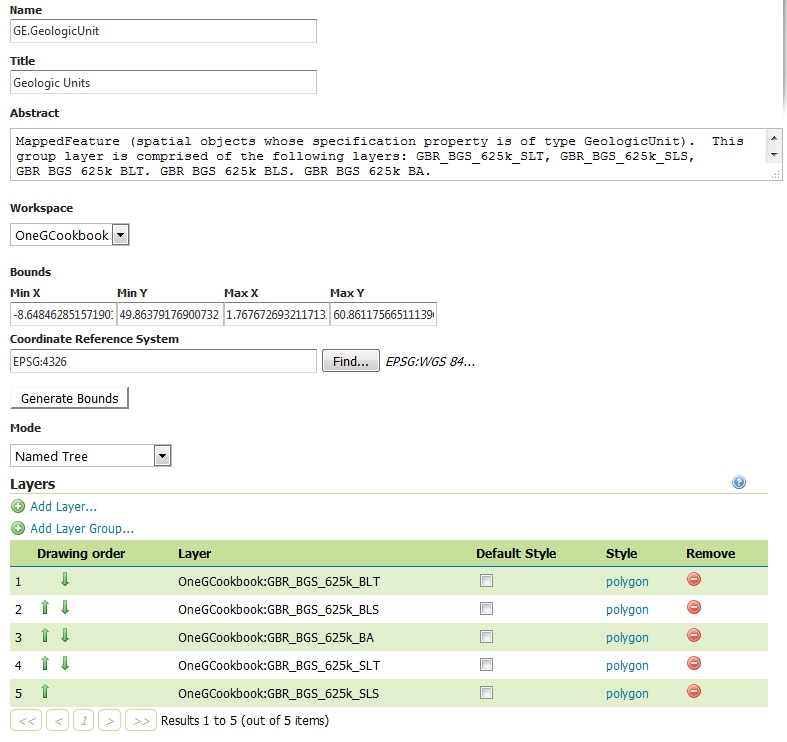
Add the name, title, and abstract. If you are following INSPIRE regulations note the name and title must be EXACTLY as in the technical guidelines. You may enter anything in the abstract, though we suggest you provide as much information about the grouping as possible. Select the workspace you want to use and enter the layers that you want to group; the layers must already be available in the workspace. The layers will display on top of each other so when adding layers you may wish to chose a layer order, for example if you want to group layers that are point features on top of polygon features. Note the drawing order is the inverse of what will appear, that is the first drawn layer will appear at the bottom of the resultant map image.
Now select the default projection system for the group and then click the Generate Bounds button, this will generate a bounding box based on the extents of all your listed layers, though you may add the bounding box manually if you wish. To ensure that a user can see which layers are included in the group, you will also need to choose the Named Tree Mode (and not use the default Single mode).

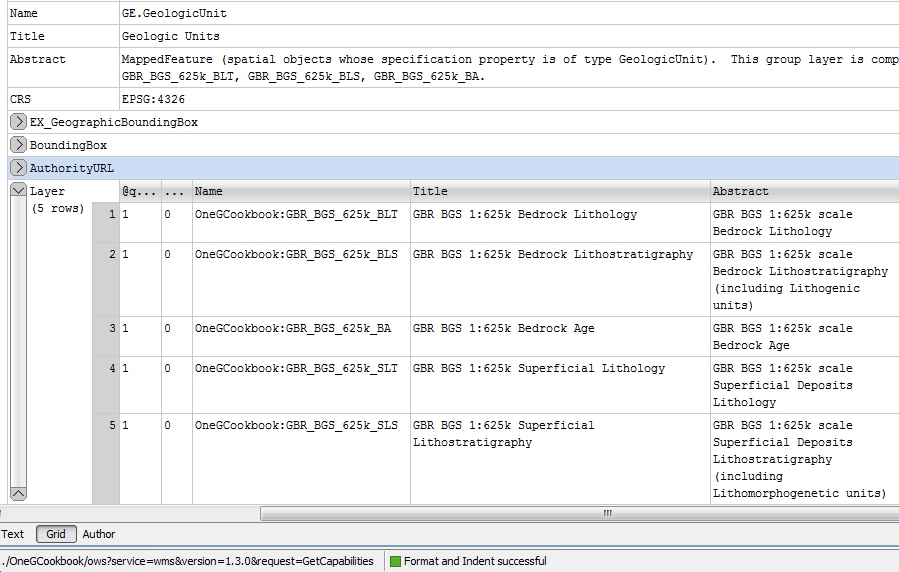
The output of a grouped layer is shown below (excerpt from a GetCapabilities response).

Section last modified: 21 October 2015
